
Adjustable Dress Form: How to Set It Correctly and Its Real Size Range
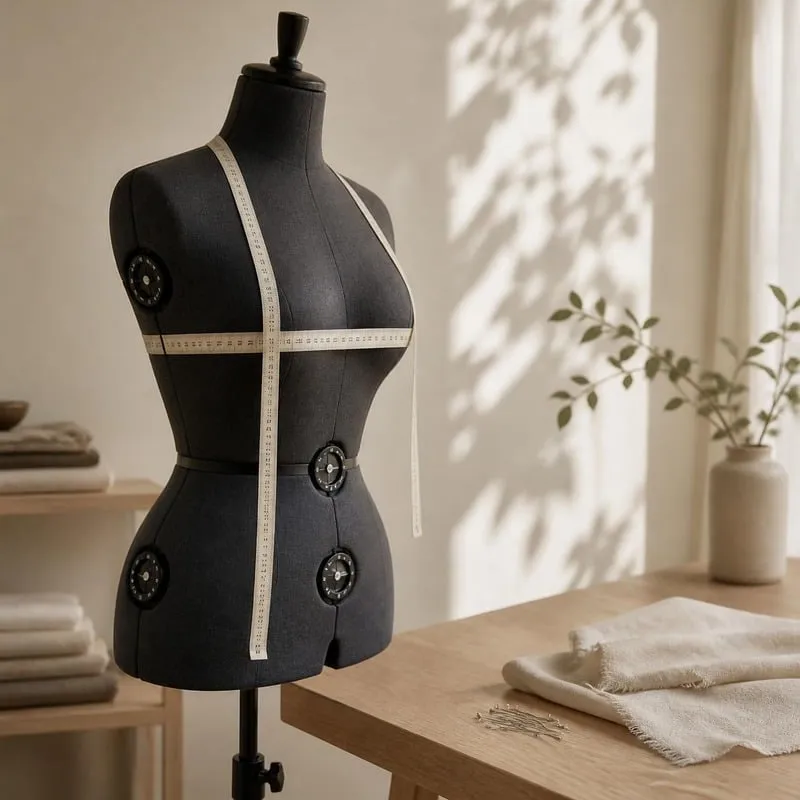
How to adjust an adjustable dress form step by step: which measurements to take, in what order to turn the dials, what to do about the gaps between sections, how to pad it and what the size range really means.
To set up an adjustable dress form correctly, first measure the body without any ease, then adjust in a fixed order: the stand height, the body length from the nape to the waistline, the neck circumference, and only at the end the bust, waist and hips, in small turns all around the form rather than winding one dial all the way. Check every measurement with a tape measure on the form itself, because the number on the dial is only a reference point. What the dials don't change, such as bust shape, shoulder slope or asymmetry, you complete with padding and a snug cover. That's how an adjustable sewing dress form turns from a generic tool into a reasonable representation of a specific client.
Before you touch the dials: which measurements you need
The dress form represents the body itself, so you measure it as it is, without adding ease. Ease is added in the pattern, according to the type of garment. The full measuring method is in the guide how to take body measurements for sewing. To set up the dress form you need the following measurements:
Bust, waist and hip circumference: the three measurements the main dials adjust.
Back length: from the prominent vertebra at the base of the neck to the natural waistline. It's worth marking the waist with a string or elastic before measuring.
Neck circumference: around the base of the neck.
Shoulder width: it isn't set with a dial, but you need it to check the form after adjusting the neck.
Measure over the underwear that will be worn with the garment, using a tape that doesn't stretch. An old tape that has lengthened over the years creates a gap between the client's measurements and what is measured on the form, so it's worth replacing it from time to time.
The order for adjusting an adjustable dress form
Adjust the form bare, with no garment or cover on it. A garment left on the form during adjustment gets stretched and hides the gaps, and the measurement comes out inaccurate.
Stand height: loosen the height screw, raise the form until its shoulder line is level with the client's shoulders, and tighten. For hem work you can lower it to a comfortable working height. When the stand is extended to its maximum height, it's worth also tightening the rotation lock to reduce wobbling.
Body length: set the distance from the nape to the waistline before the circumferences. If the form's waistline sits higher or lower than the client's, the waist circumference will be measured in the wrong place and the rest of the adjustment will shift.
Neck circumference: enlarge in small steps and measure again. Enlarging the neck moves the shoulder sections slightly apart, so after adjusting, measure the client's shoulder width and mark it on the form with a pin or tape.
Bust, waist and hips: start with the bust. Turn the front dial a little, move on to the side, the back and the other side, and repeat until you reach the measurement. Do the same for the waist and hips. Opening one dial all the way strains the mechanism and distorts the body shape.
Check with a tape measure: measure the form at the same height at which the client was measured. If there's a gap, correct it and measure again.
Record: write down the value of each dial on the client's card. Next time, the adjustment takes minutes.
If a particular dial is hard to turn, the sections next to it are usually under tension. Loosen the dials above and below it slightly and try again. Never force a dial once it has reached its stop, as this can break the mechanism.
Gaps between the sections: why they appear and what to do
The body of an adjustable dress form is made of separate sections that move apart as you increase the size. In the PRYM Prymadonna dress form, for example, the body is made of 8 sections with 13 adjustment points at the neck, bust, waist, hips and body length. The closer you get to the top of the range, the wider the gaps. Fabric sinking into a gap looks like a fold in the garment, and a pin pushed in there grips nothing.
There are three common ways to deal with this:
Tape over the gap: stick double-sided tape along both edges of a twill tape or a strip of fabric, and lay it over the gap. On the tape at the centre front you can mark the centre line in pencil.
A snug knit cover: a cover made of stretch knit fabric, or a tight T-shirt, creates an even surface over the sections. This is especially important when the form is opened close to its maximum.
Pinning correctly: push pins in at an angle into the padded covering of the sections, not into the gap. Pins for working on a dress form are in the pins category.
Padding: what the dials can't do
The dials change circumference, not shape. Two clients with the same bust circumference can differ greatly in bust point height, back width, shoulder slope or tummy prominence. A slight hunch, a hollow back or one hip higher than the other can't be solved with a dial either.
A common method among dressmakers is to set the form slightly below the client's measurements and make up the difference with thin layers of padding where her body is fuller. Over the padding, put on a snug cover that holds it in place.
Bust: the client's own bra on the form, with padding inside the cups, gives a more accurate shape and height than enlarging the dial alone.
Shoulders: shoulder pads or thin layers of fleece change the slope and the thickness of the shoulder.
Tummy, back and hips: batting or thin foam, in layers that get progressively smaller so that no step is formed.
Padding only adds. A form that is already closed to its minimum won't get any smaller, and in that case you need a smaller dress form size.
What the real range of an adjustable dress form is
The range shown in the dress form's name is the bust range only. In practice every size has three separate ranges, and the client needs to fit into all three at once. For the PRYM Prymadonna in size L the ranges are: bust 112–127 cm, waist 94–109 cm and hips 119–132 cm.
Example: a client with a 112 cm bust and an 85 cm waist is within the bust range of size L, but her waist is smaller than the 94 cm minimum. In size M of the same series the bust is 100–116 and the waist 82–99 cm, and both of her measurements fall within range. That's why you check all three measurements, not just the bust.
Overlap between sizes: in sizes M and L of the series the bust ranges overlap between 112 and 116 cm. When most of your clients fall in this zone, decide by the hip measurement.
The edges of the range: at the top end the gaps are at their widest and a cover is needed. At the bottom end there are no gaps, but it can't be reduced any further. So a client who is close to the middle of the range usually gets a more comfortable working surface.
The limits of fitting: when adjustment isn't enough
Even a precisely adjusted form is an approximation. It is useful for checking drape, side seams, the shoulder line and the hem, and for working between client fittings. It doesn't replace a fitting on the body in a close-fitting garment, because a real body is usually not completely symmetrical between right and left or between front and back.
Trousers: the Prymadonna's body ends at the hips, so it suits dresses, skirts, blouses, jackets and coats.
Base patterns for a collection: when you need an identical result every time, a fixed-size form, such as the professional dress form with collapsible shoulders and cage, is more suitable. The comparison between the types is detailed in the guide how to choose a dress form.
Measurements outside the range: padding is suitable for making up a few centimetres in a specific place, not for an overall enlargement beyond the upper limit.
Common adjustment mistakes
Adjusting the circumferences before the body length.
Relying on the number on the dial without measuring with a tape.
Opening one dial all the way instead of small rounds all around.
Adjusting while a garment is still on the form.
Working at the top end of the range without a cover, so the fabric sinks into the gaps.
You can see the adjustable and fixed-size dress forms in the women's dress forms category, and check them in person at the showroom at Kfar Giladi 15, Tel Aviv. For a question about the right size based on your clients' measurements, or for a price quote for a studio or college, you can contact us by phone or WhatsApp.
Frequently asked questions
In what order do I set the dials on an adjustable dress form?
First set the pole height and the torso length from the nape to the waistline, then the neck circumference, and only at the end the bust, waist and hips. Adjust the circumferences in small rounds around the form, front dial, side, back and other side, rather than turning one dial all the way. When you're done, measure each circumference with a tape measure.
Why doesn't the tape measure reading match the number on the dial?
The number on the dial is a reference point, and the actual measurement also depends on the position of the neighboring dials and the height at which you measure. So measure the form with a tape measure at the same height where the client was measured, and adjust until the measurements match. Write down the final dial settings for reuse.
What do you do about the gaps that open between the sections of the dress form?
Cover them with woven tape or a strip of fabric fixed with double-sided tape along the edges, and pull a snug knit cover or a T-shirt over everything. That way the fabric doesn't sink into the gaps and you get an even surface for pinning. The closer the form is opened to the top of its range, the more important the cover becomes.
The dial is stuck and won't turn. What should I do?
Usually the adjacent sections are too tight. Loosen the dials above and below it slightly and try again gently. If the dial has reached its stop, that is the end of its range, and forcing it can break the mechanism.
Can you adjust the dress form while a garment is on it?
It's not recommended. A garment on the form stretches when the parts move, hides the gaps and throws off the tape measurement. Adjust the form while it's bare, and only then add a cover, padding and the garment.
Is an adjustable dress form suitable for a client with a large bust and a small waist?
Only if each measurement falls within the range of the same form size. For example, on the PRYM Prymadonna in size L the bust range is 112–127 cm but the waist starts at 94 cm, so a client with a smaller waist won't fit it. In such a case, check a smaller size and build up the bust with padding.
Does enlarging the neck change the shoulder width of the dress form?
Yes, to some extent. When you enlarge the neck, the shoulder sections move slightly apart, so the form's shoulder width changes. After adjusting the neck, measure the client's shoulder width and mark it on the form with a pin or tape.
Does an adjustable dress form replace fittings on the client?
Not for close-fitting garments. The dials change circumference but not shape, and they don't correct asymmetry, differing shoulder slopes or a hollow back. The form reduces the number of fittings and lets you check drape, seams and hem between appointments, but a final fitting on the body is still needed.
How do I work with one dress form for several clients?
Keep a card for each client with the setting of every dial, the pole height and the torso length, as well as where padding was added. Before each job, return the form to the recorded settings and verify with a tape measure. It is best to keep each client's padding separately, under her own cover.
What is the hem marker that comes with the dress form, and how is it used?
It is a tool for marking the hem height on a dress or skirt, so the hem is the same distance from the floor all the way round. Set the desired height, mark the fabric at that point with a pin, move around the garment and repeat until the whole circumference is marked. On the PRYM Prymadonna, the marker comes with a pin holder.

